Magento 2.4.2 on Ubuntu 20.04 Installation Guide

Magento powers 0.7% of the internet. Almost 12% of the e-commerce websites today use Magento. The best part of it is that the software comes as an open source with OSL V. 3.0 license. A commercial flavor of it is also available called Magento Commerce with its own perks.
In this tutorial we will be installing the Magento 2.4.2 community edition on a Digital Ocean droplet with Ubuntu 20.04 LTS operating system with much less hassle and addressing every recommendation from Magento docs.
Basically the tutorial is divided into 4 sections.
1) Set up the host environment.
2) Download the open source Magento software using the composer.
3) Install the Magento.
4) Verify the installation and install the sample data.
Setting up the host environment
This is the most crucial and important step in Magento installation. If setup properly, installation and subsequent usage of Magento will be free of hassles and surprises.
As mentioned above, we will be installing our Magento open source on a digital ocean droplet. We assume that you have an account with the digital ocean and knows how to spin up a droplet for the task at hand. We chose a droplet with 8GB/4CPUS/160GB SSD and Ubuntu 20.04 LTS x64.
Once the droplet gets created, it can be accessed with the ip dynamically assigned by digital ocean with the username ‘root’.
Now let us ssh into the droplet as root user with the following command
ssh root@<droplet_ip>when prompted, provide the password given while droplet spin up.
Now you should be on the ubuntu shell as the root user as shown
Next, create a new user to be the file system owner for the Magento installation. In this instance for simplicity, we are going to chose the new user with the name ‘ubuntu’. Also, we need to provide our new user with the sudo access so that they can perform installations and file managements. Execute the following commands to create a new user and give sudo permissions.
sudo adduser ubuntu
sudo usermod -aG sudo ubuntu
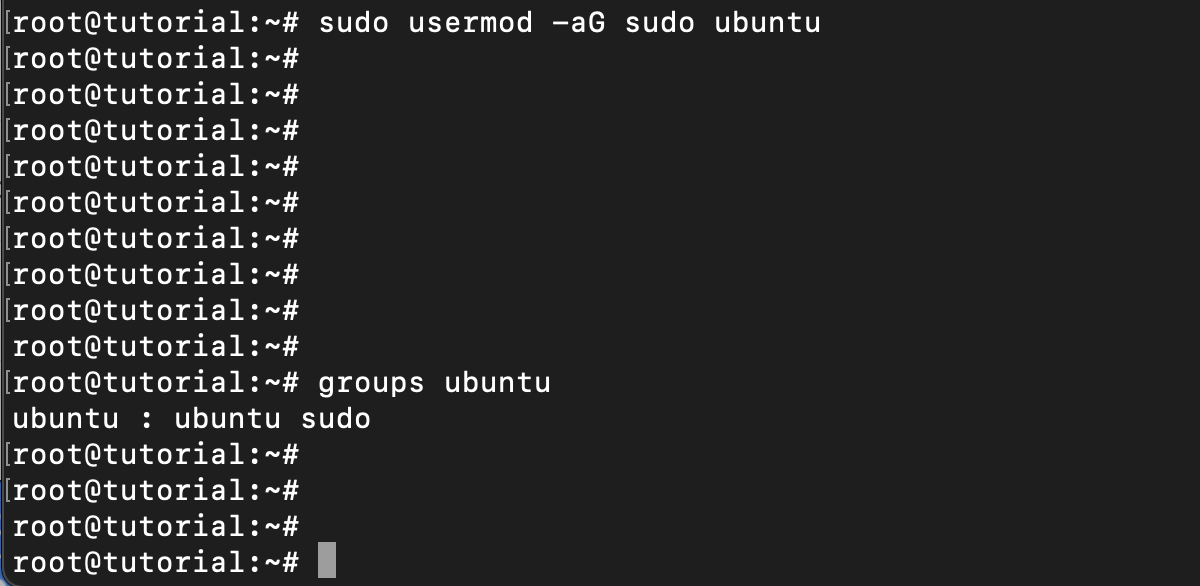
One can confirm the above operation by listing the groups the user belongs to see the existence of sudo using the command as shown
groups ubuntuNow on a new terminal window, we can ssh to our droplet as the new ubuntu user we setup above.
We need to update and upgrade our droplet before we proceed with installation of all pre-requisites for the Magento software with the following command.
sudo apt update && sudo apt upgradeInstall Apache
For this tutorial, we are going to use the Apache web server as the host for our Magento store. So let us install the apache2 on the droplet with the following command.
sudo apt install apache2 -yOnce installed we can check for the apache version with the command
apache2 -v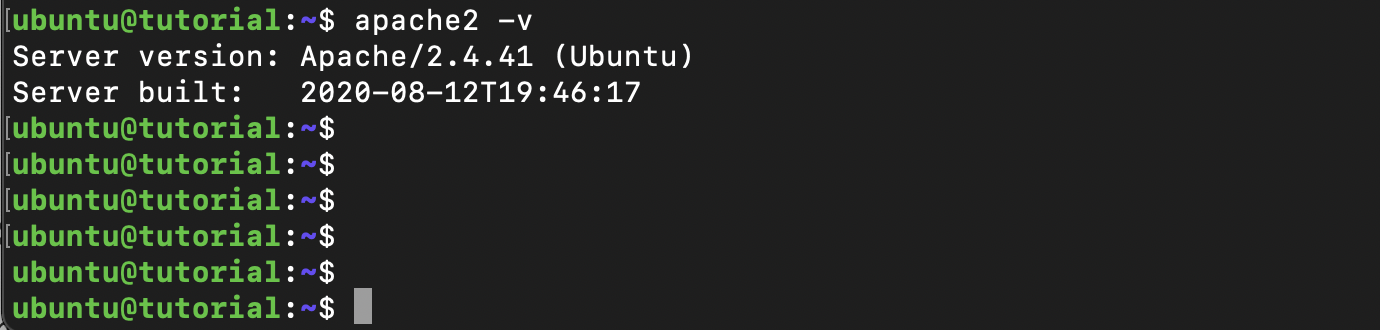
Magento requires expires, headers, rewrite and ssl modules to be enabled for proper functioning. We need to enable them by executing the following command for each module
sudo a2enmod <module_name>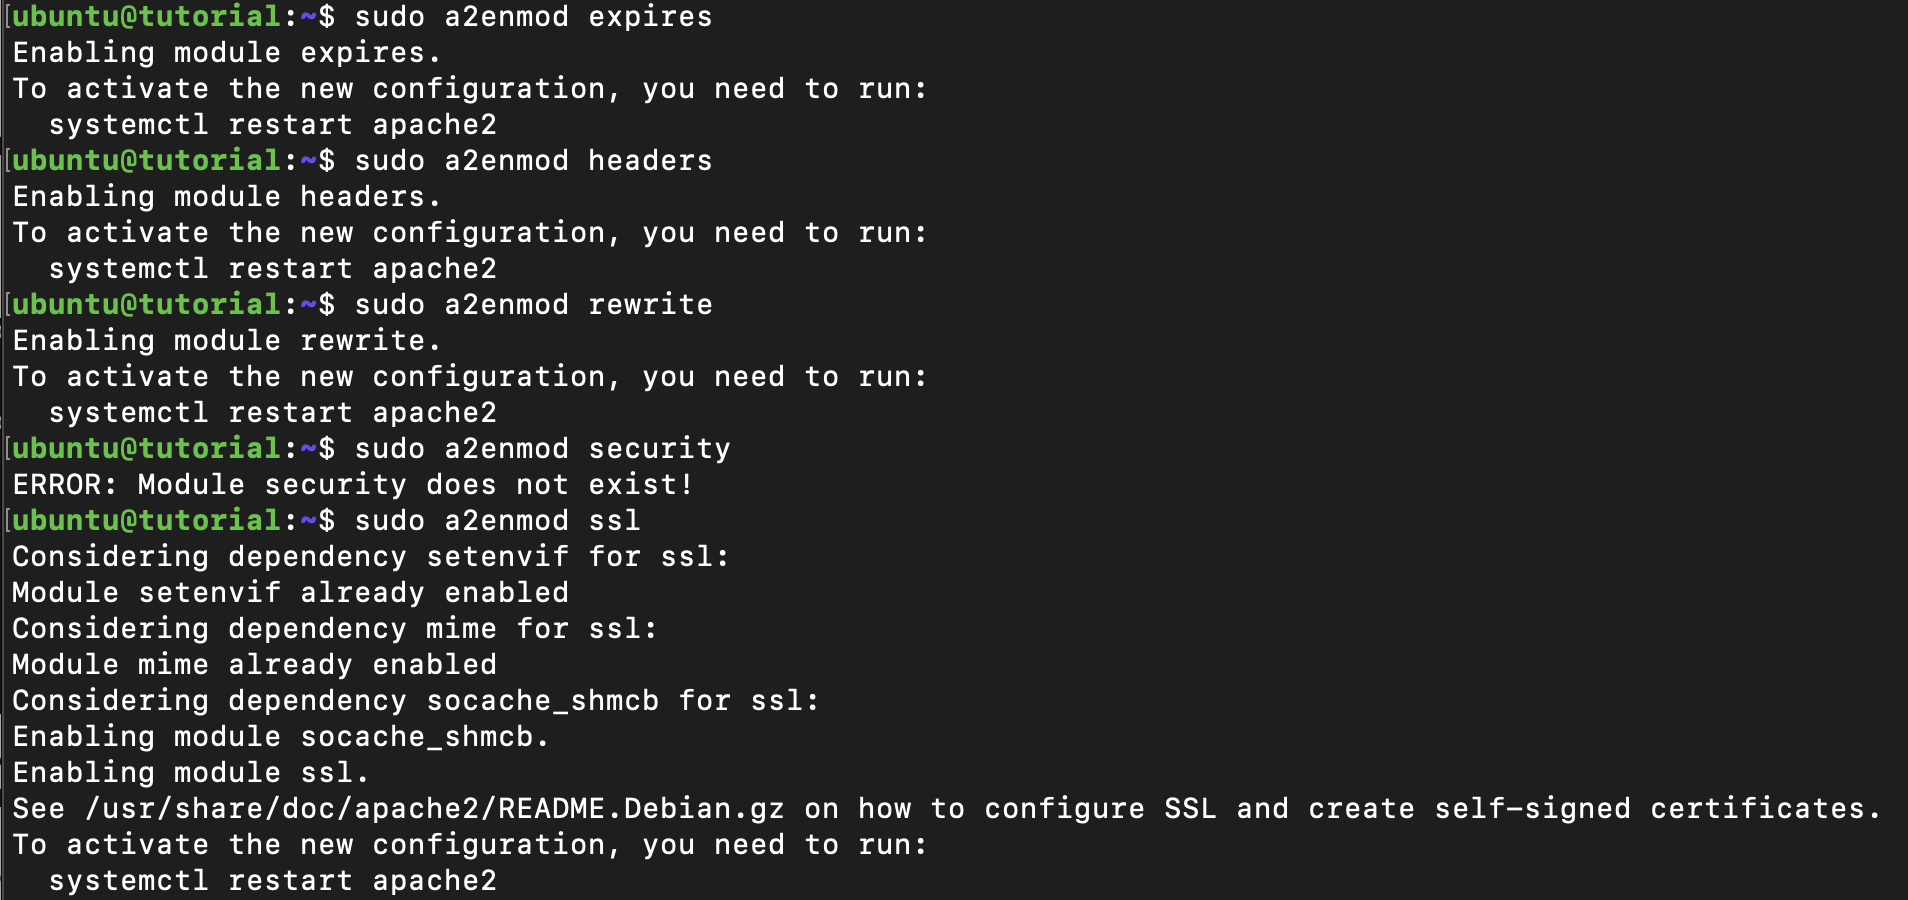
We also need to install and enable the security module which is not part of default apache2 package.
sudo apt install libapache2-mod-security2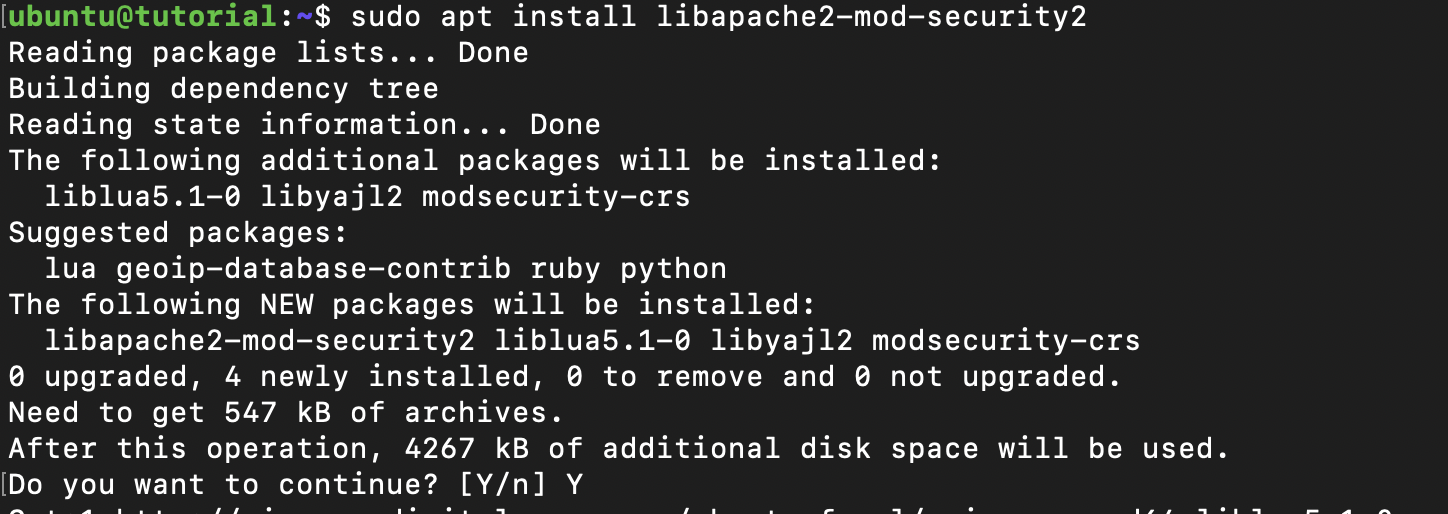
Once we enabled and installed all the necessary modules, we need to restart the apache service for the things to take effect with the following command.
sudo systemctl restart apache2We can confirm the list of enabled modules with the command
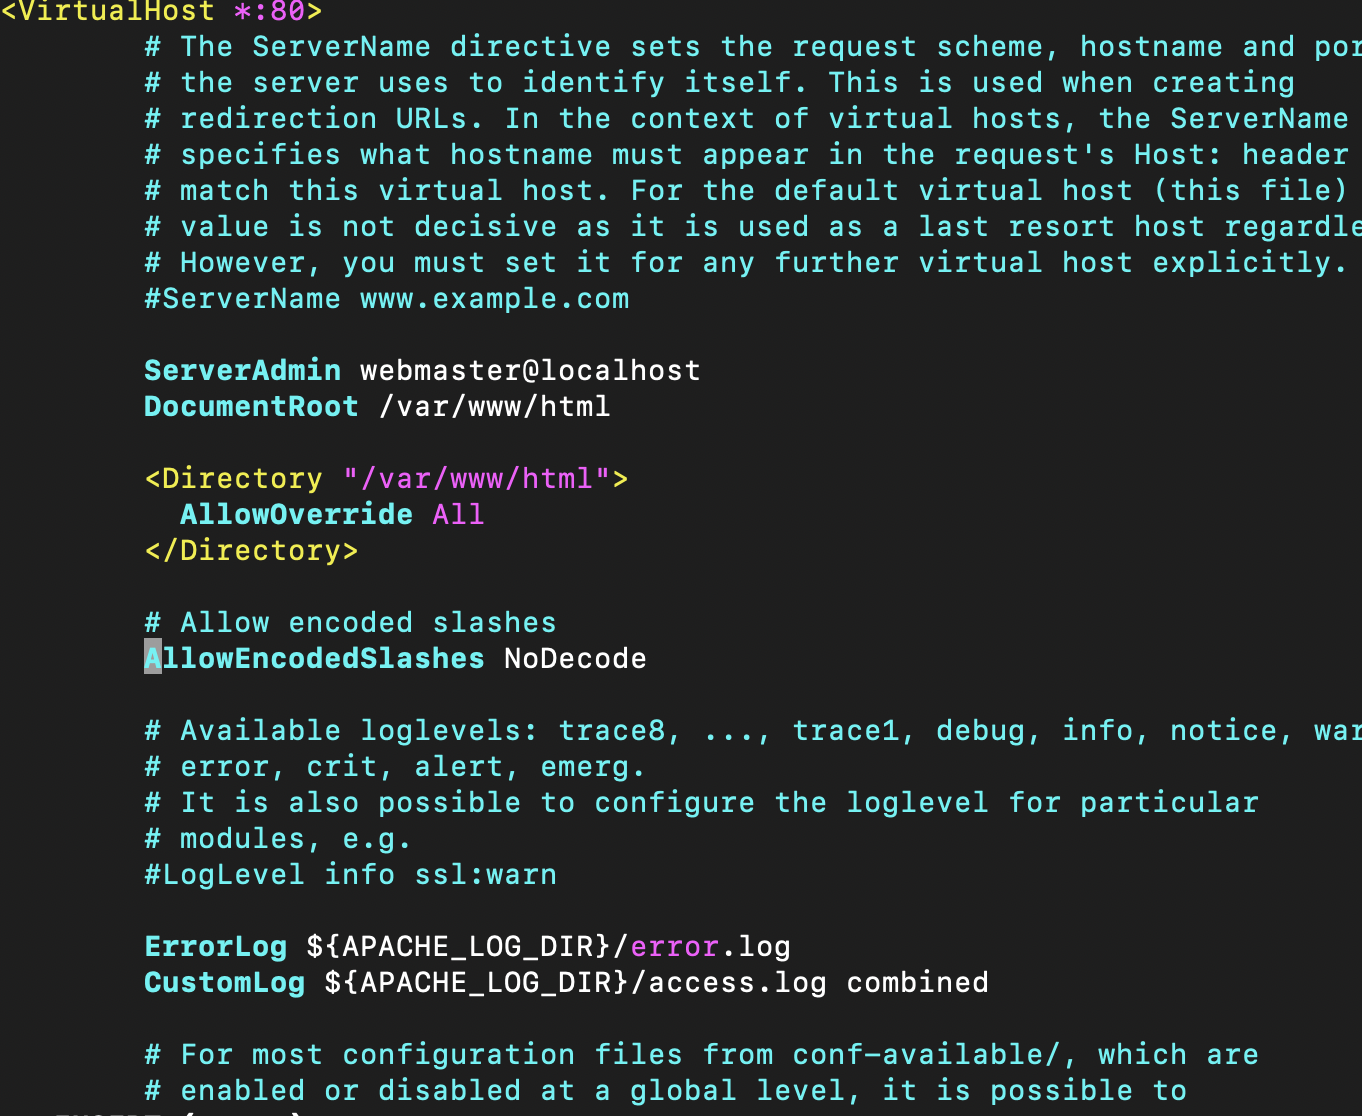
apache2ctl -MWe need to make couple of changes to enable the distributed .htaccess and to prevent the decoding of encoded slashes in the urls.
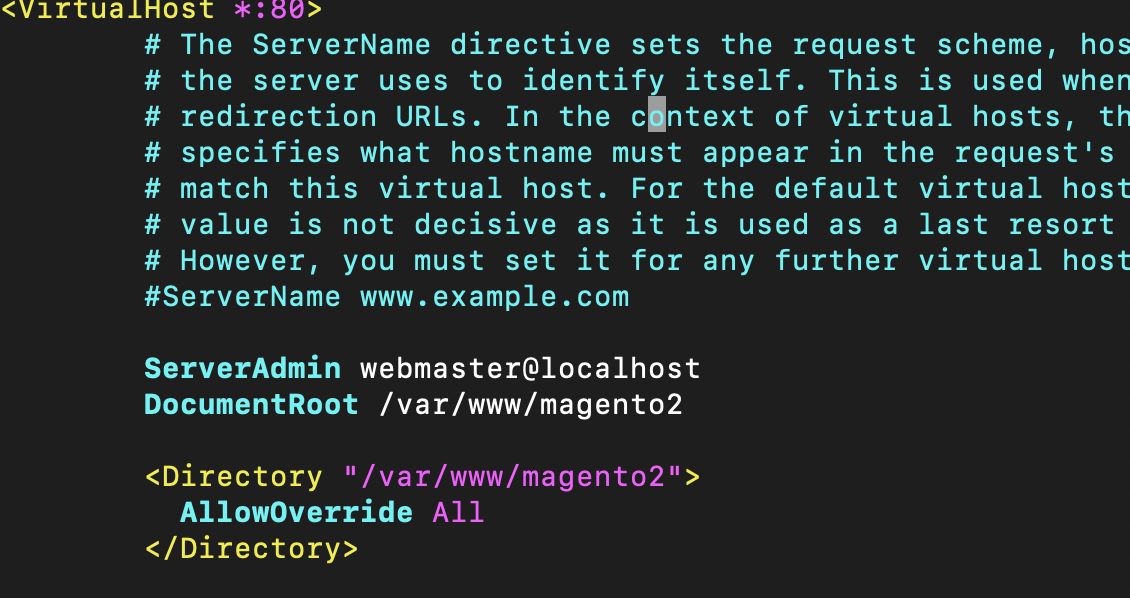
Open the ‘000-default.conf’ file under the /etc/apache2/sites-available and add the following under the virtual host *:80
# Allow encoded slashes
AllowEncodedSlashes NoDecode
<Directory "/var/www/html">
   AllowOverride All
</Directory>
/etc/apache2/sites-available/000-default.conf should look like
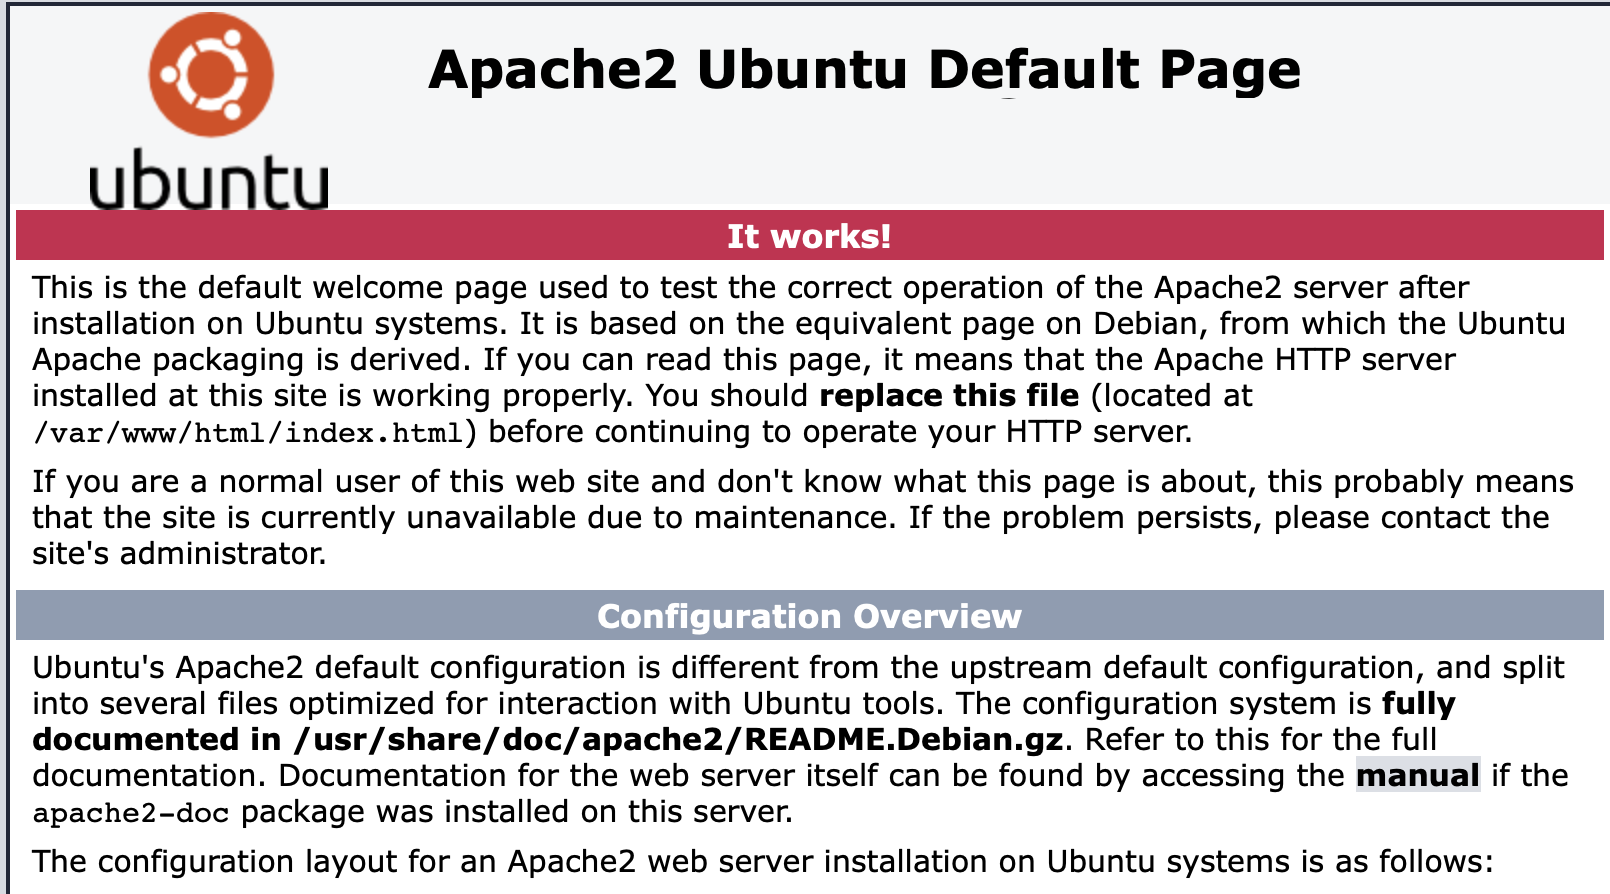
Now restart the apache2 service using the command
sudo systemctl restart apache2When accessed with the ip address, we should see the following on port 80
Install MySql
Now we need to install the relational database for the Magento which is the mysql. We can install the mysql server on the ubuntu using the command.
sudo apt install mysql-server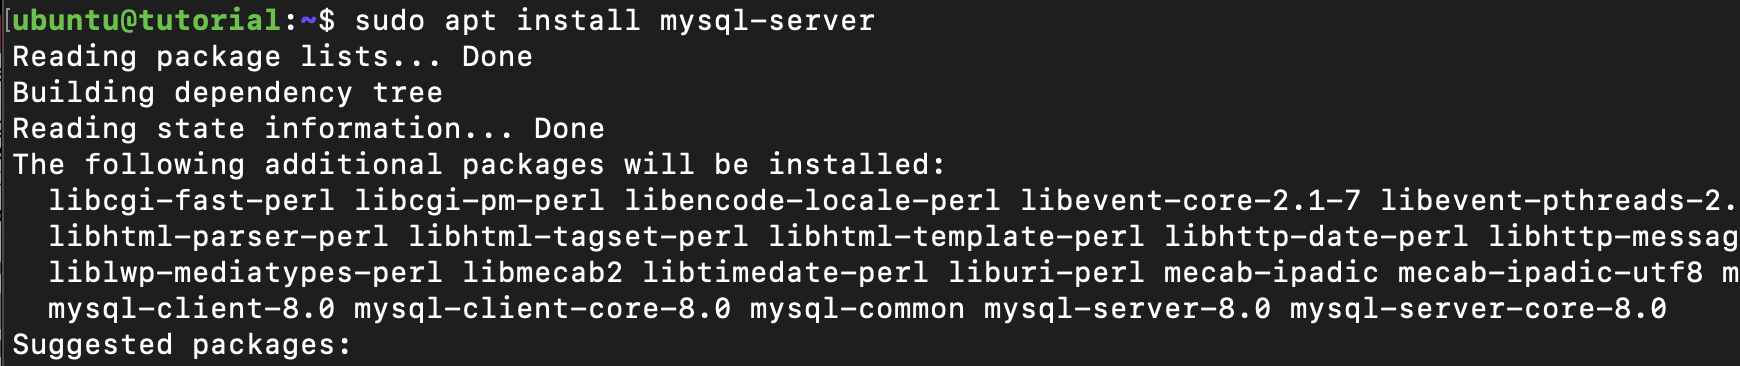
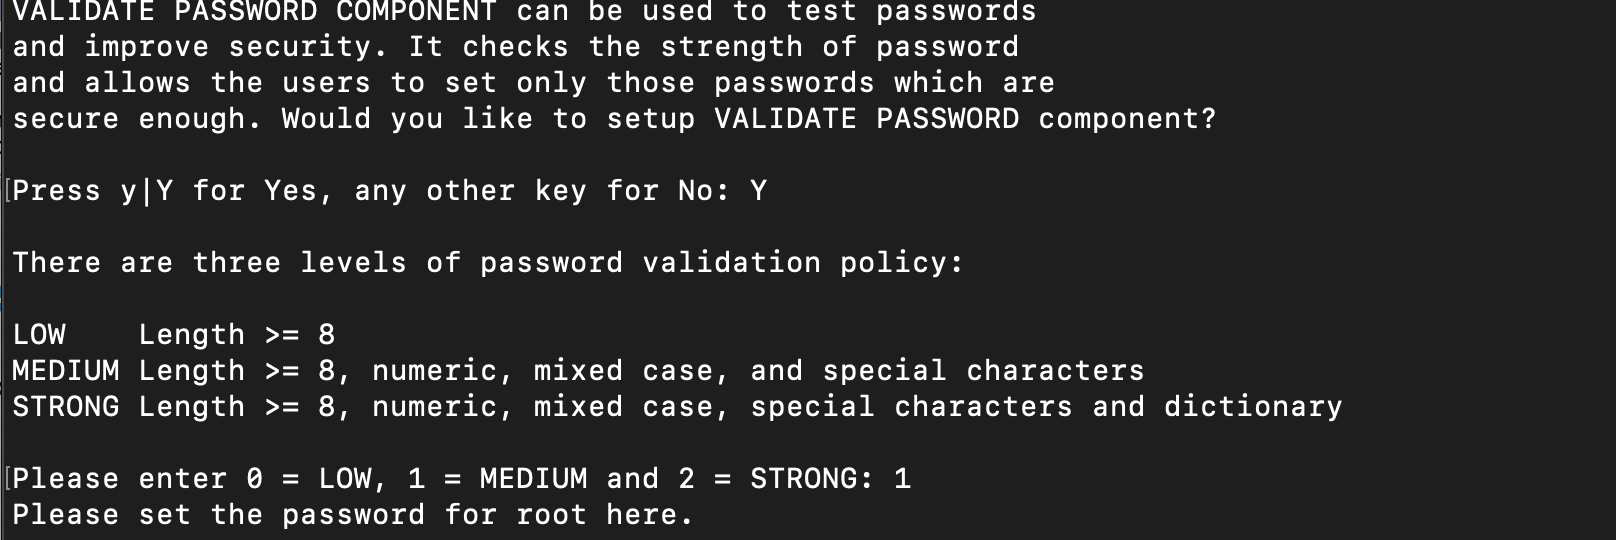
Next, we need to properly configure the security for mysql server using the script supplied as part of default mysql package by executing the command
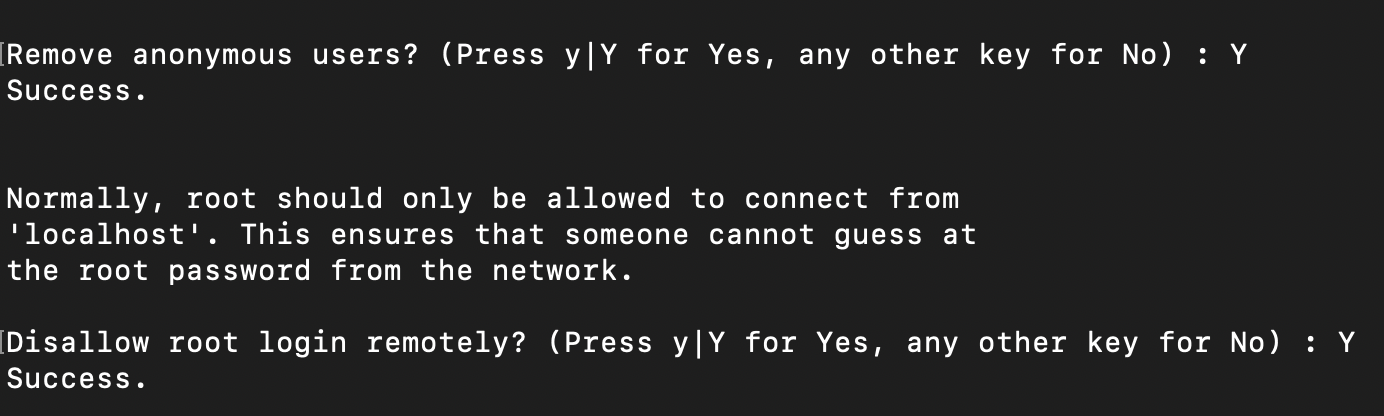
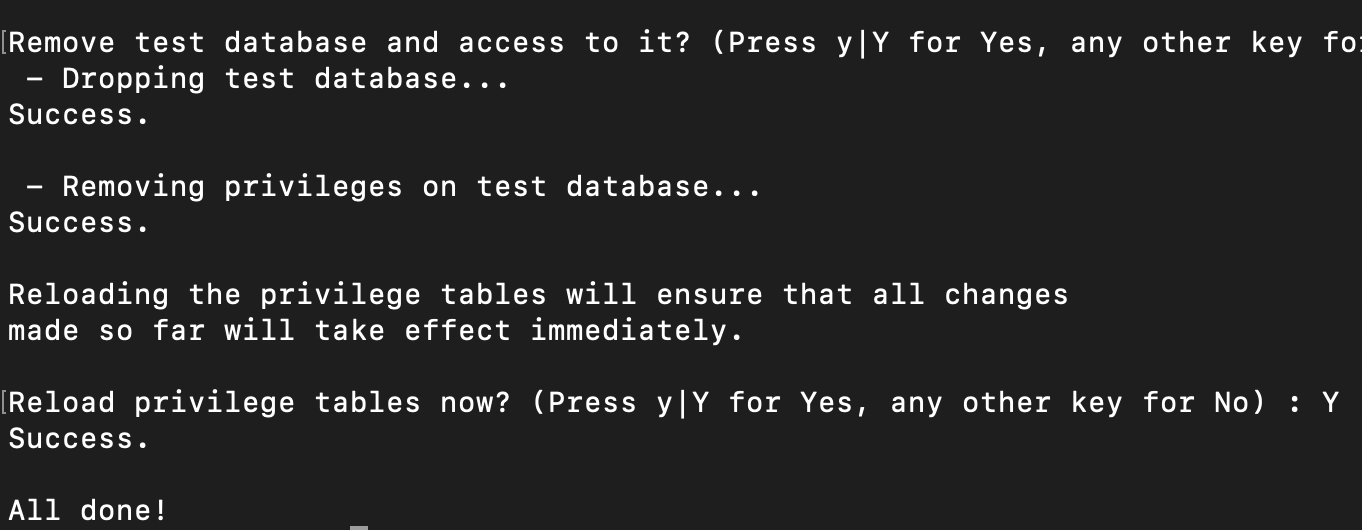
sudo mysql_secure_installationFor the prompts chose the password validation as Yes and select the desired complexity. Remove the anonymous users, login as root from remote and remove test databases as follows
We can confirm the proper installation of mysql using the command
sudo mysqlNow we need to create a new database called ‘magento’ and a user ‘magentotester’ for our Magento installation in mysql. The database and user names can be of any allowed choice. The new user, magentotester is provided with all the access on to the new ‘magento’ database.
* sudo mysql
* create database magento;
* create user ‘magentotester’@‘%’ identified by ‘<complex_password>’
* Grant all on magento.* to ‘magentotester’@‘%’ with grant option;
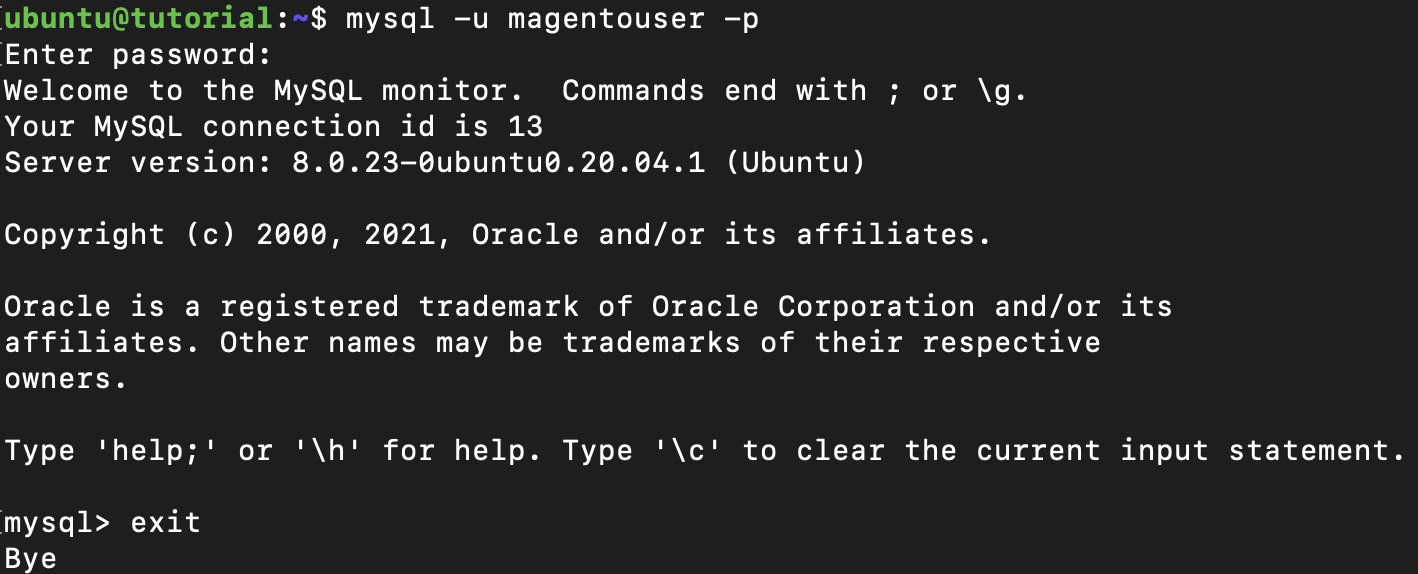
* Flush privileges;We can verify the new user with the command
mysql -u magentotester -pand when prompted, enter the password chosen while creating the new user.
Install PHP
Magento 2.4.2 supports php 7.4. We can install php 7.4 on ubuntu using the command
sudo apt install php7.4We can confirm the installation using the command
php -v
Magento requires additional php modules to be installed. Executing the following commands installs the specific components one by one
ext-bcmath         ‘sudo apt install php7.4-bcmath’
ext-curl           ‘sudo apt install php7.4-curl’
ext-dom            ‘sudo apt install php7.4-dom’
ext-gd             ‘sudo apt install php7.4-gd’
ext-intl           ‘sudo apt install php7.4-intl’
ext-mbstring       ‘sudo apt install php7.4-mbstring’
ext-pdo_mysql      ‘sudo apt install php7.4-mysql’
ext-soap           ‘sudo apt install php7.4-soap’
ext-xsl            ‘sudo apt install php7.4-xsl’
ext-zip            ‘sudo apt install php7.4-zip’
We can confirm the installation by listing the additional PHP modules using the command
php -m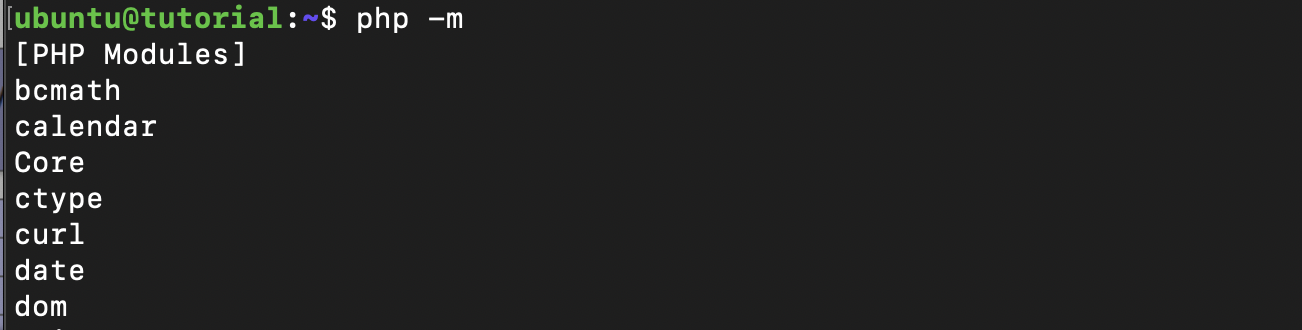
Now we need to make some configuration changes to PHP to support our magento installation.
First we need to find out where our configuration file for PHP resides using the command
php --ini | grep "Loaded Configuration File”
We can see that the configuration file is at the location /etc/php/7.4/cli/php.ini. Edit the file to make following configuration changes
* Change the date.timezone=<desired time zone>, Available time-zones
* Change the memory_limit=2G (can be 1G/2G/3G/4G based on deployment use case)
* Change the realpath_cache_size = 10M
* Change the realpath_cache_ttl = 7200
* Uncomment opcache.save_comments=1
Restart the web server to make the configuration changes effective with the command
sudo systemctl restart apache2Install Elasticsearch
From 2.4.x, Magento requires user to have Elasticsearch for its search capabilities. Without an elastic instance, the installation of Magento fails.
For simplicity of the tutorial, we can have this elastic instance running on the same server where we are installing our Magento. For production grade or advanced setup one can have this Elastic instance spin up as a separate droplet and expose it via Apache or Nginx web servers for added security.
First we need to update our repositories to point to the elastic builds by executing the following commands
* curl -fsSL https://artifacts.elastic.co/GPG-KEY-elasticsearch | sudo apt-key add -
* echo "deb https://artifacts.elastic.co/packages/7.x/apt stable main" | sudo tee -a /etc/apt/sources.list.d/elastic-7.x.list
* sudo apt update
* sudo apt install Elasticsearch
This will install the Elasticsearch as a service on our droplet. Now we need to start the service and enable it so that the instance comes up automatically when there is a reboot.
* sudo systemctl start Elasticsearch
* sudo systemctl enable elasticsearch
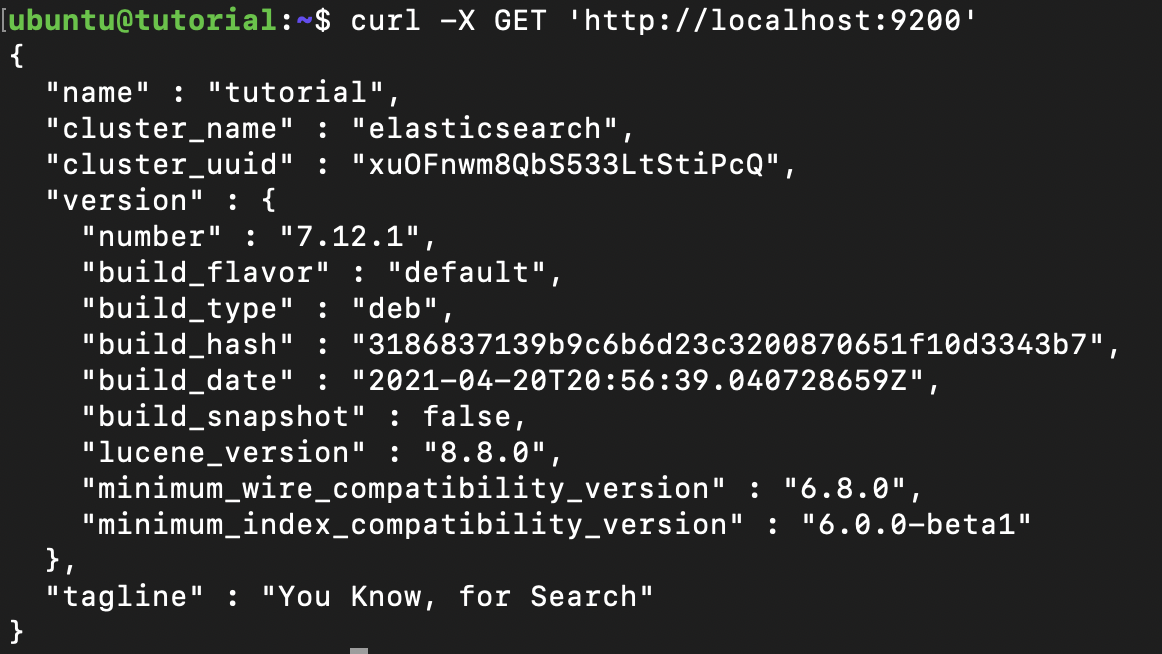
Elastic instance status can be checked using the command
curl -X GET ‘http://localhost:9200'Elastic exposes its API on the port 9200. We should get something like
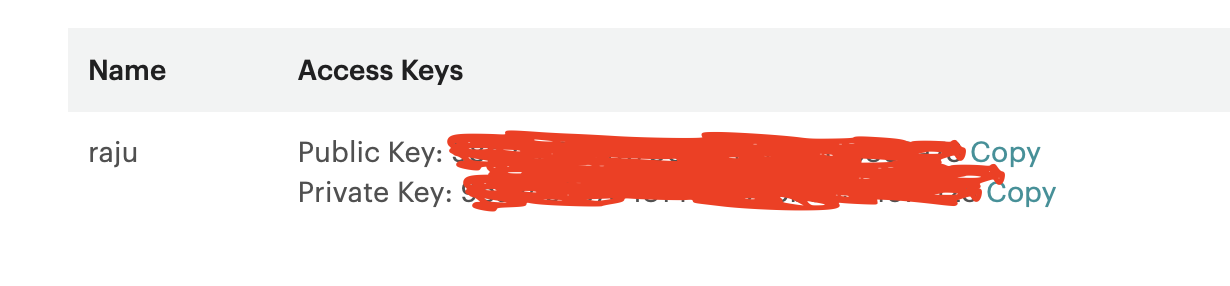
Get Authentication Keys for Magento
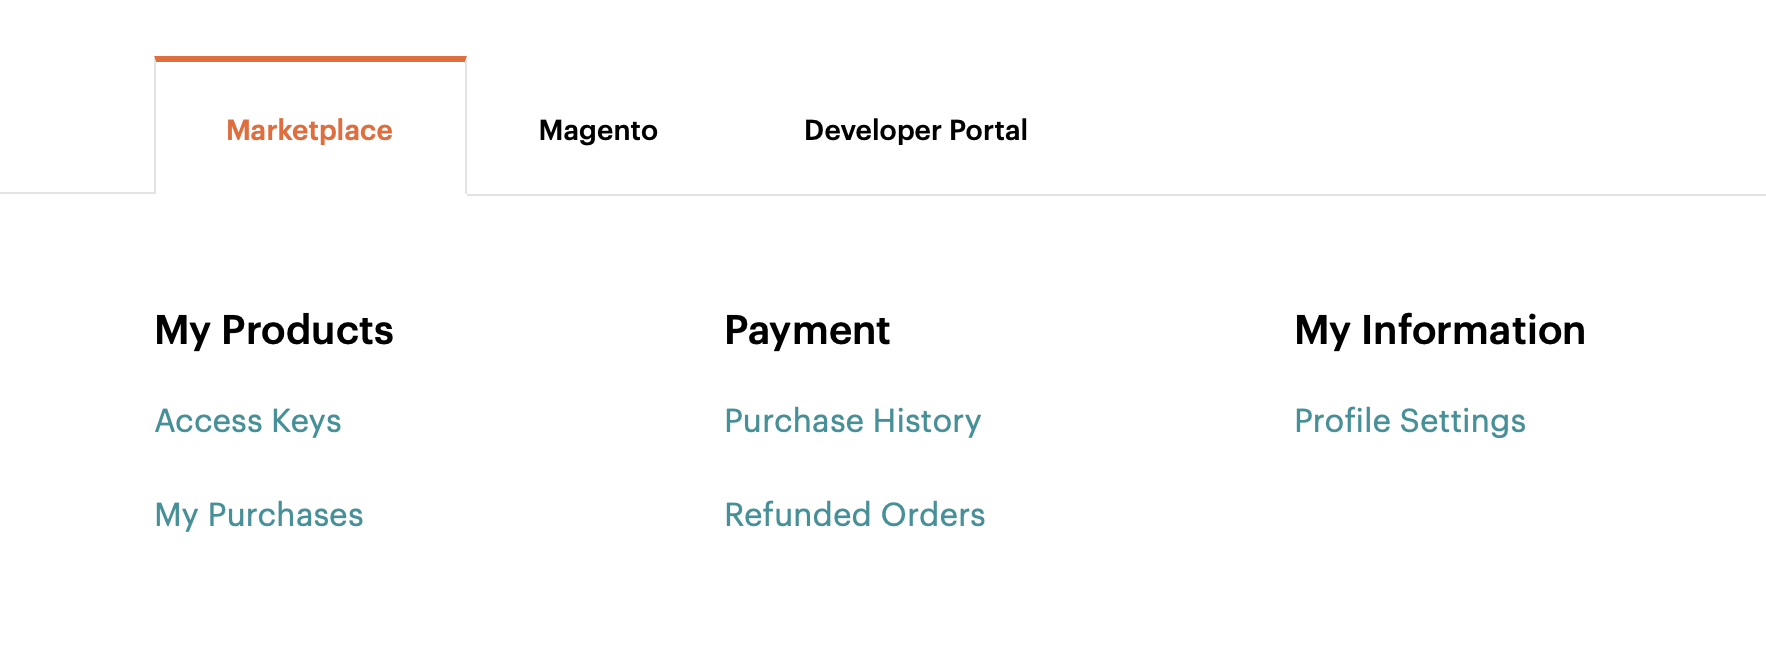
To access the Magento open source, we need the authentication keys. To create authentication keys:
- Log in to the Magento Marketplace.
- Click on the account name in the top right corner and select My Profile.
- Click Access Keys in the Marketplace tab.
- Click on create a new access key button if we don’t have one. Or else use the existing keys
Install Rabbitmq
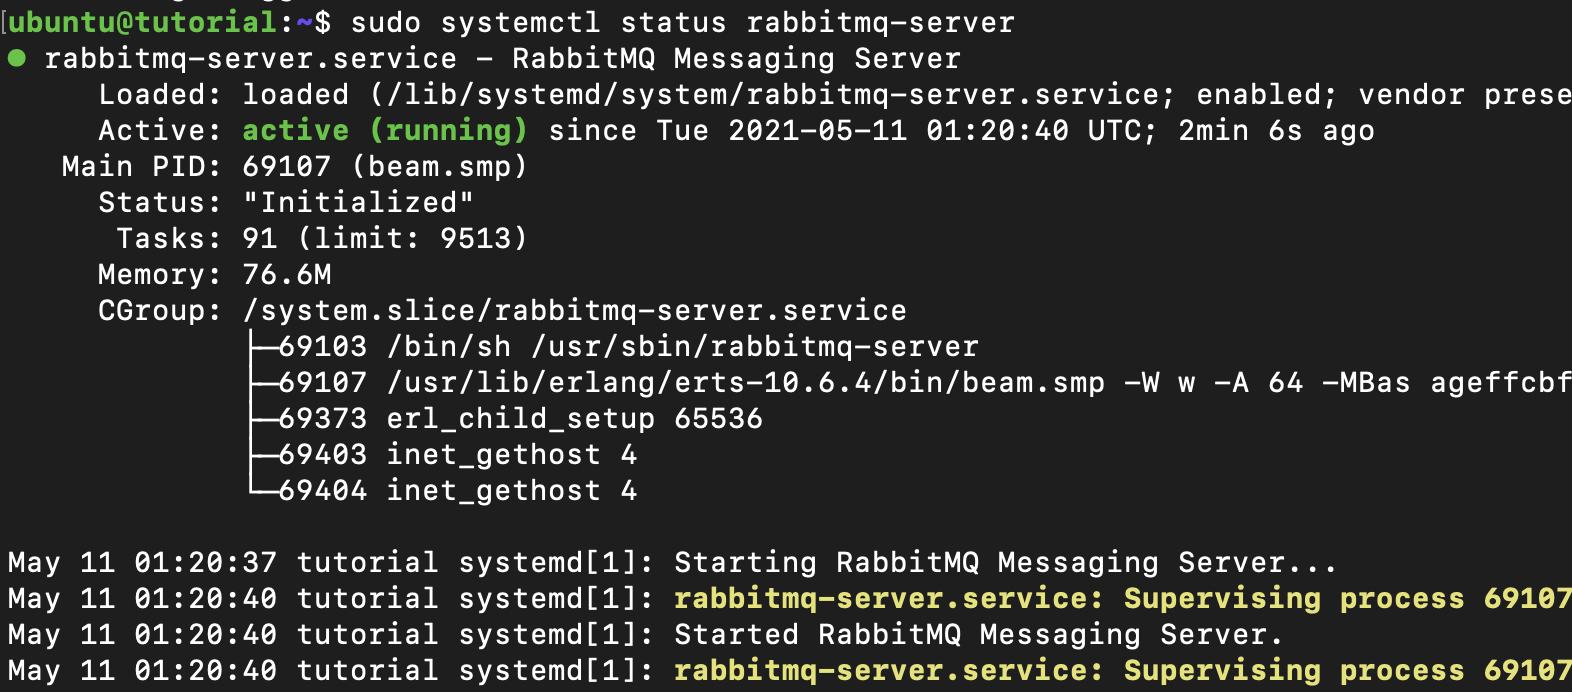
RabbitMQ is used by Magento as a message broker. We can install rabbitmq using the command sudo apt install rabbitmq-server -y
Once installed, we can make sure the rabbitmq-server is running by executing the commandsudo systemctl status rabbitmq-server
Once the rabbitmq is installed and active, we need to add a new admin user and set password. We should also remove the guest user account.
Add user:sudo rabbitmqctl add_user <rabbitmq_user> <strong_password>
Make the user administrator:sudo rabbitmqctl set_user_tags <rabbitmq_user> administrator
Delete the guest user:sudo rabbitmqctl delete_user guest
If needed, we can create a new virtual host for the rabbitmq using the following command. This step is optional and we can go with the existing default virtual host ‘/‘.
Add new virtual host:sudo rabbitmqctl add_vhost /<new_vhost>
List the existing virtual hosts:sudo rabbitmqctl list_vhosts
Install Composer
We are going to download the Magento software using the composer in this tutorial. To install the composer, we need to follow the steps listed down
php -r "copy('https://getcomposer.org/installer', 'composer-setup.php’);"php -r "if (hash_file('sha384', 'composer-setup.php') === '756890a4488ce9024fc62c56153228907f1545c228516cbf63f885e036d37e9a59d27d63f46af1d4d07ee0f76181c7d3') { echo 'Installer verified'; } else { echo 'Installer corrupt'; unlink('composer-setup.php'); } echo PHP_EOL;”php composer-setup.php —filename=composerphp -r “unlink(‘composer-setup.php’);”
Post installation, we need to move the composer to the /usr/bin to be able to be accessed from anywhere.sudo mv composer /usr/bin/
We can check the installed composer using the commandcomposer -V

Pre-installation ownerships and permissions
Before we download and install the Magento software, we need to provide read and write access to the web-server group. We also need to add the file system owner to the apache user group so that both the command line scripts and the web server can access the doc root.
To add the ubuntu user to the web group, we need to execute the following command
sudo usermod -a -G www-data ubuntuOnce added, we need to restart the apache server by
sudo systemctl restart apache2We can check this by executing groups ubuntu

We also need to change the file permissions and ownership for ‘/var/www’ to be able to download the Magento metapackage.
sudo chown -R ubuntu:www-data /var/wwwDownload Magento
Get the Meta package
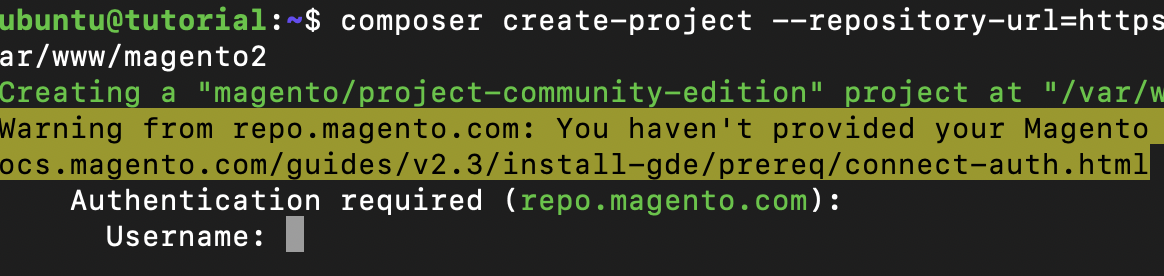
Get the Magento open source using the composer and install it into the /var/www/magento2. We can achieve this by executing the following command
composer create-project --repository-url=https://repo.magento.com/ magento/project-community-edition /var/www/magento2When prompted for the username, provide the public access key as username and private access key as password
This will download the necessary packages into the /var/www/magento2.
Set ownership and permissions for the shared group
We need to provide the complete read and write access to the web server group and file system owner ubuntu before installing the ubuntu.
We need to execute the following commands in the given order
cd /var/www/magento2find var generated vendor pub/static pub/media app/etc -type f -exec chmod g+w {} +find var generated vendor pub/static pub/media app/etc -type d -exec chmod g+ws {} +chown -R ubuntu:www-data .chmod u+x bin/magento
Next we need to modify the docroot in our /etc/apache2/sites-available/000-default.conf file to set the root folder to the magento2 directory as shown here
Restart the apache2 using the sudo systemctl restart apache2
Install Magento
To install the magento, we need to execute the magento setup with necessary configuration as shown below. For simplicity, we are assuming to route using the IP.
We can replace the base-url with the dns if available. Rest of the configuration parameters are intuitive. If we installed the Elastic instance on separate droplet, we need to specify it here using the —elastic flags. Default it choses the localhost on port 9200. So we need not specify it as we have the elastic instance locally.
bin/magento setup:install \
—-base-url=http://<droplet_ip> \
--db-host=localhost \
--db-name=magento \
--db-user=magentotester \
—-db-password=<password_used_for_db> \
--admin-firstname=admin \
--admin-lastname=admin \
--admin-email=admin@admin.com \
--admin-user=admin \
--admin-password=admin123 \
--language=en_US \
--currency=USD \
--timezone=America/New_York \
—-use-rewrites=1
Once the installation procedure is done, we ll see the admin url at the end. Make sure you copy it so that we can access the admin home page.
Post Installation
Verify Installation
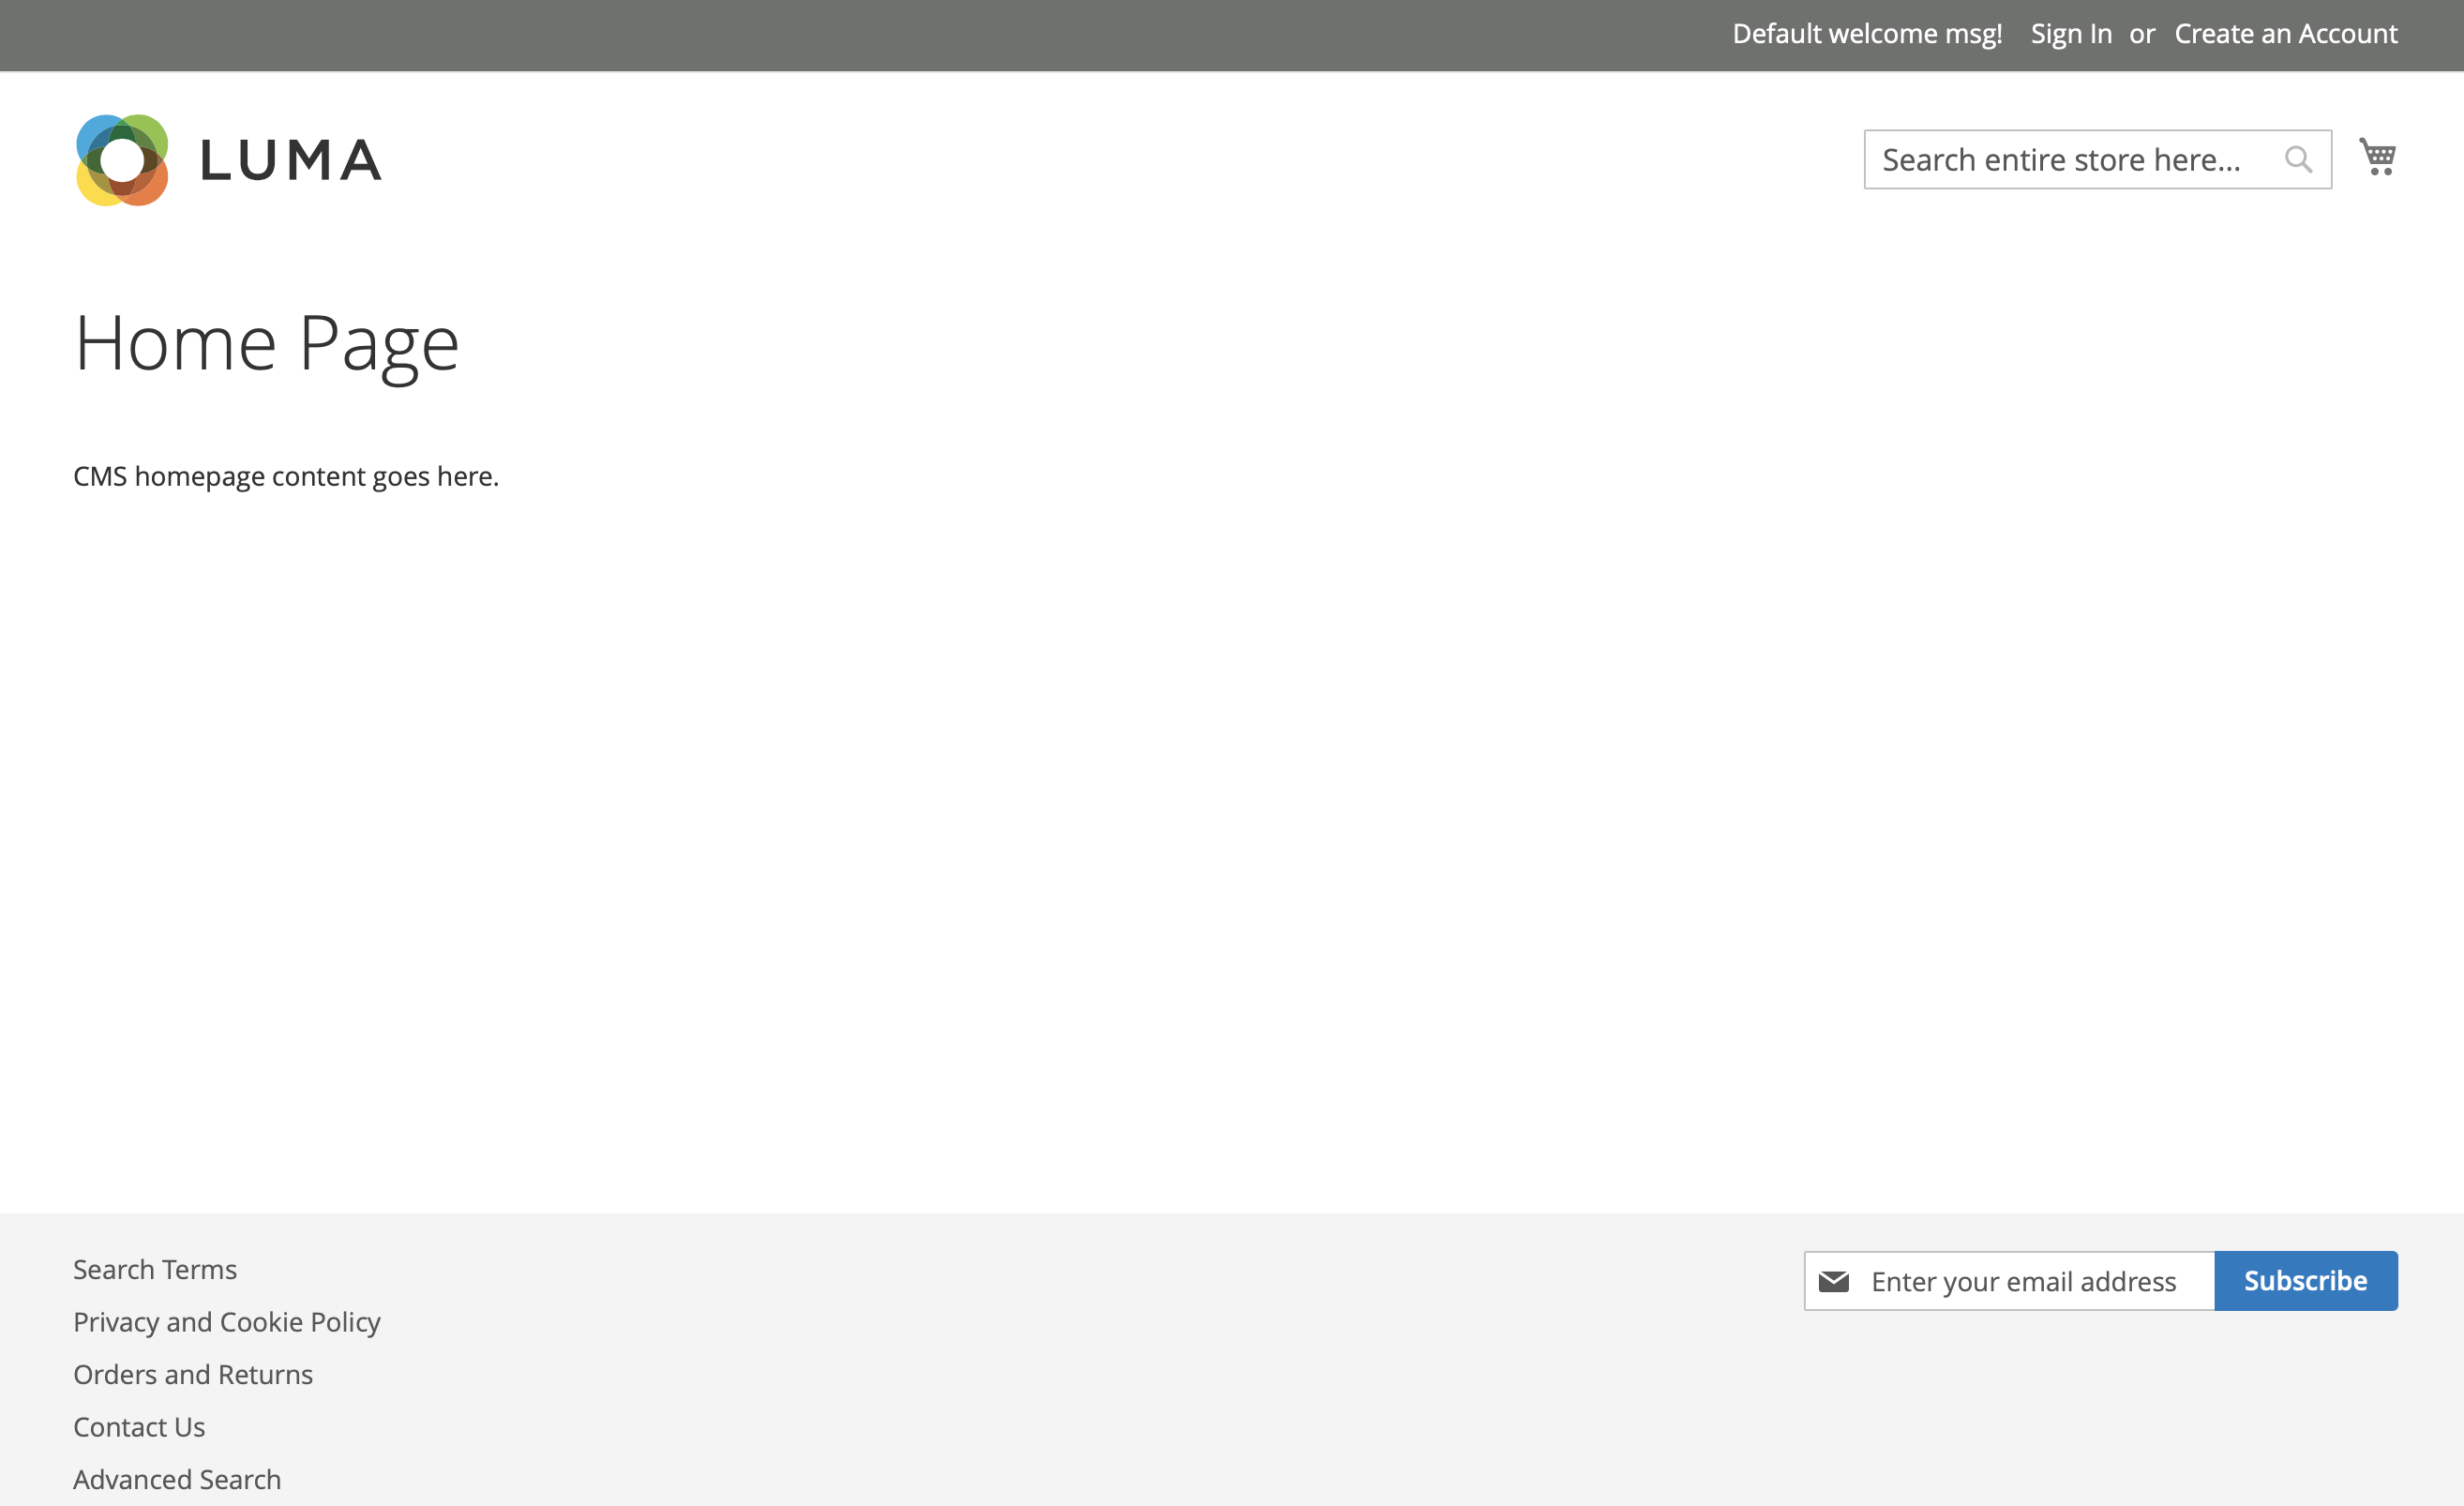
If you open a web browser and enter the ip address of your droplet, you can see the Magento home page as shown below.
To verify the admin login first we need to disable the two factor authentication, which we can enable back once we are production ready or test ready.
Disable the Two factor authentication:bin/magento module:disable Magento_TwoFactorAuth
Recompile Magento:bin/magento setup:di:compile
Flush the cache:bin/magento cache:flush
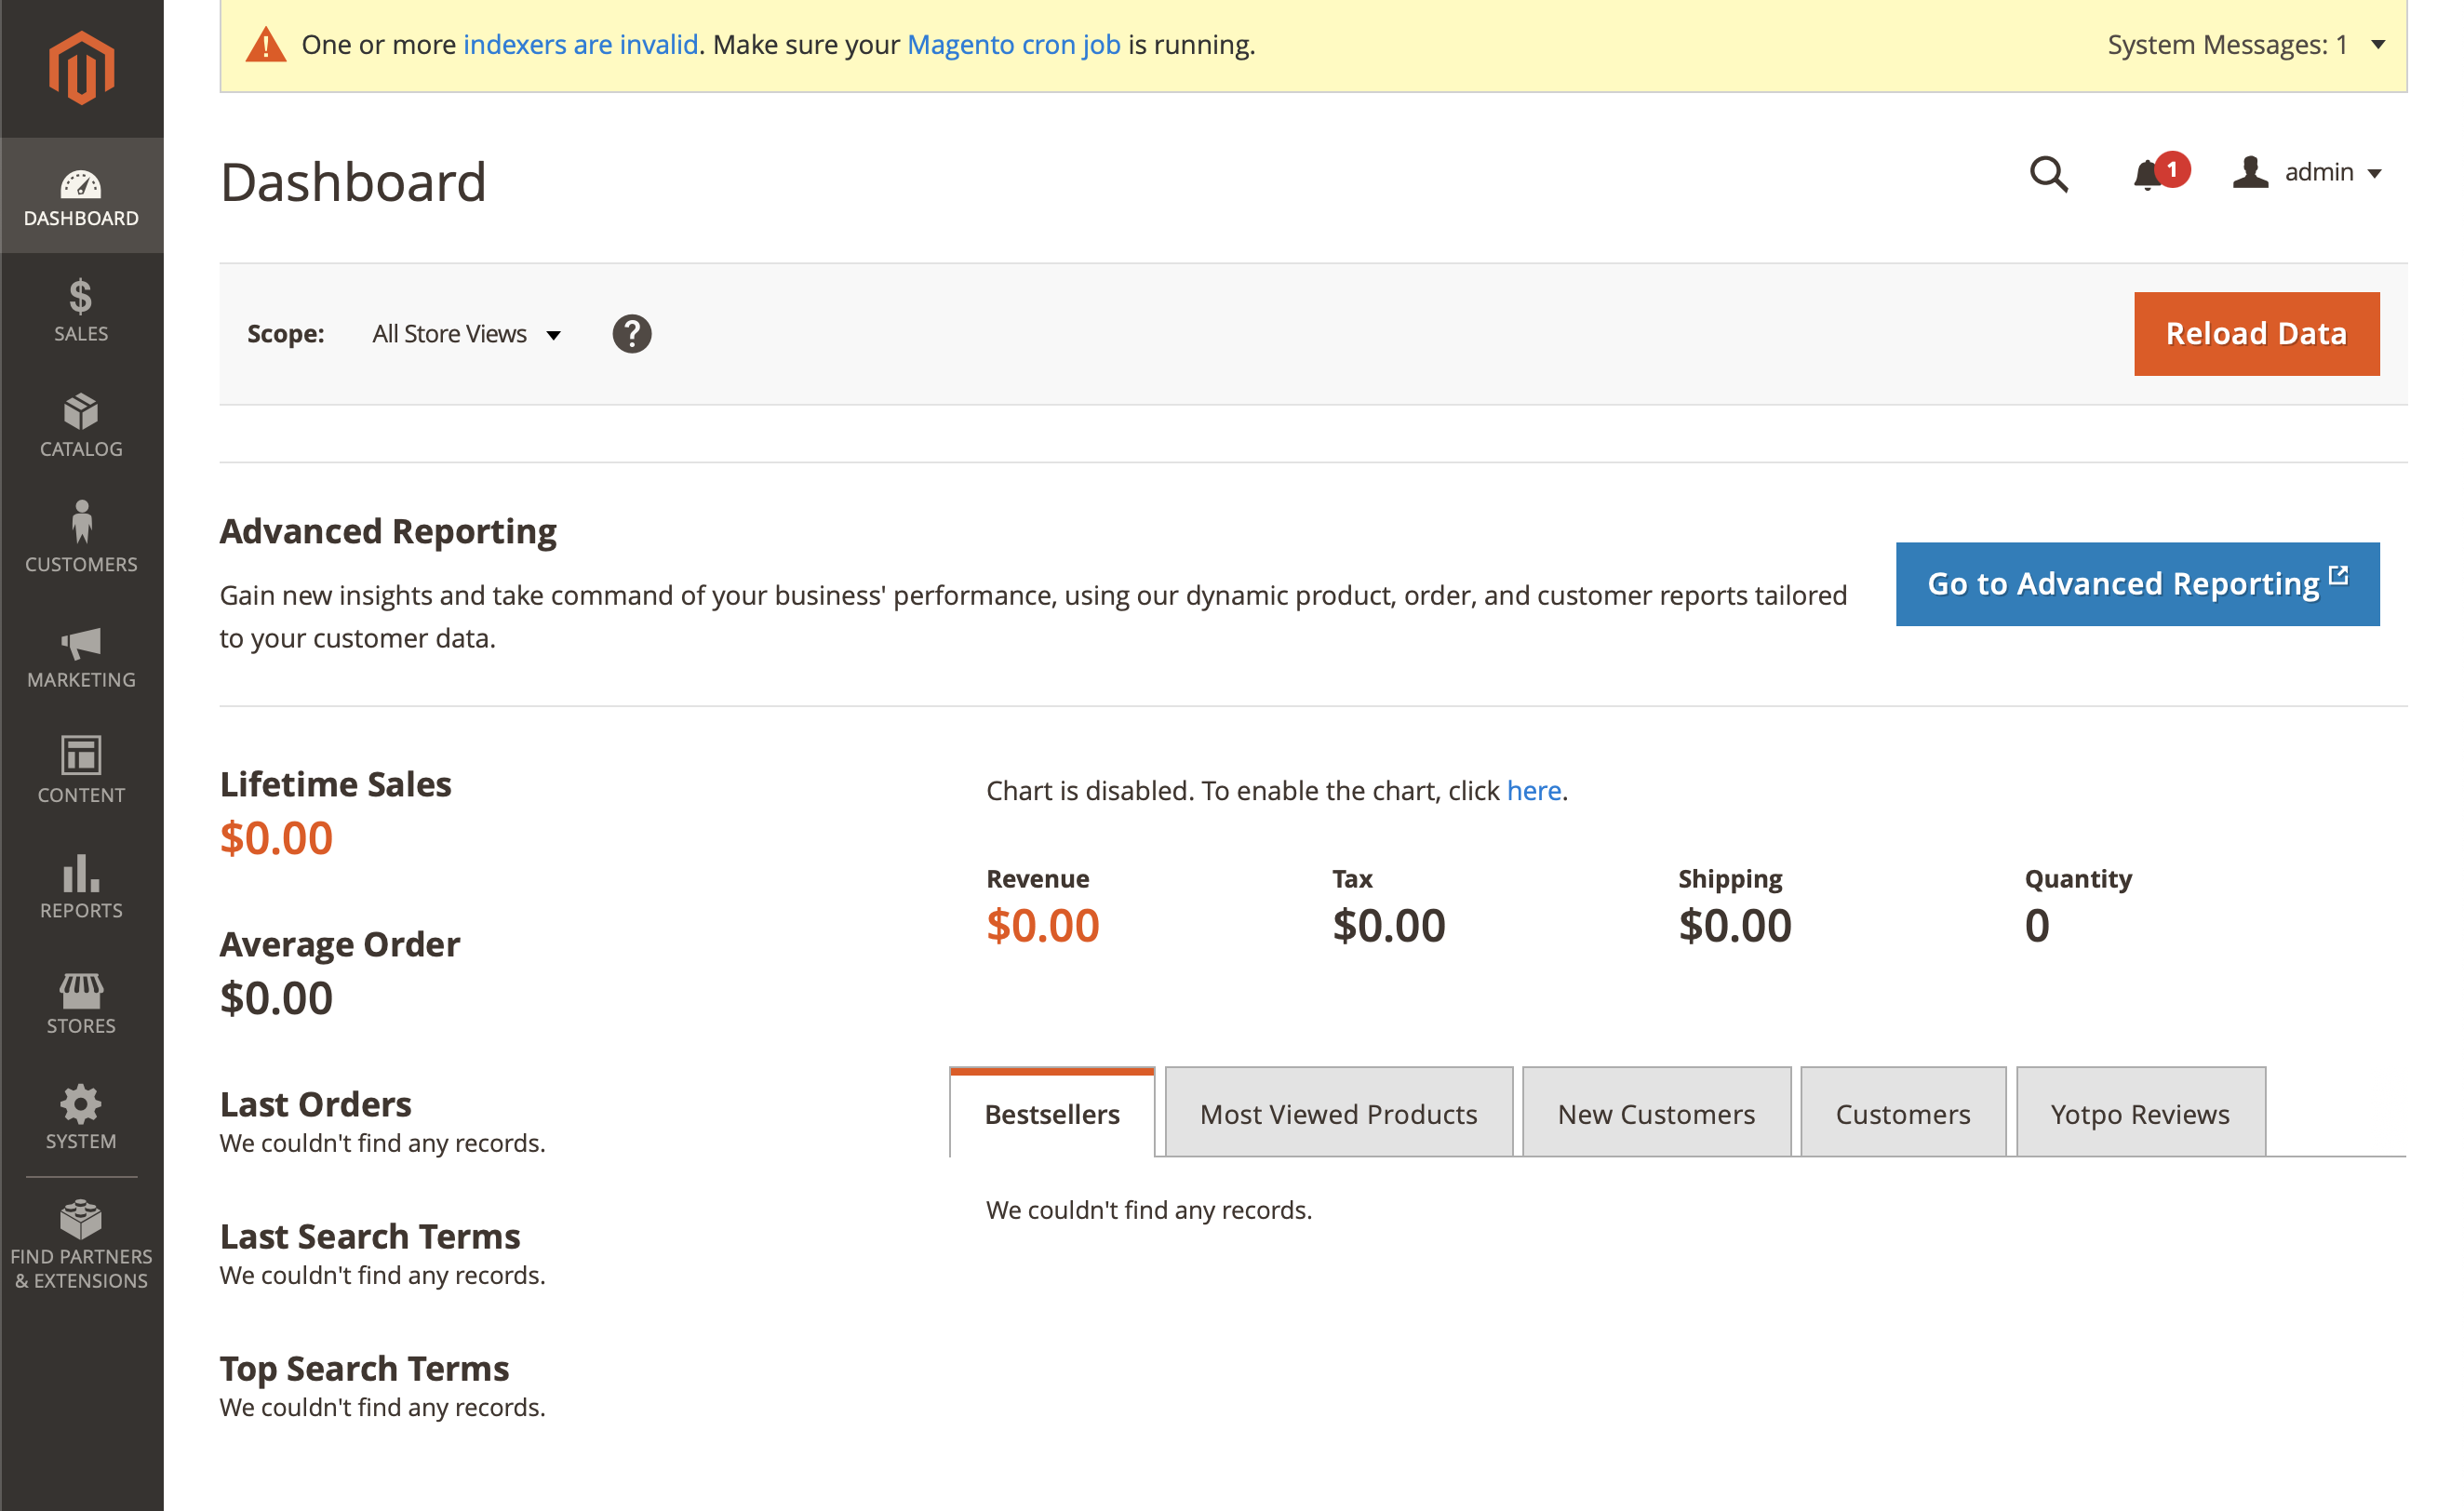
Now, we can login to our admin account with http://<droplet_ip>/<admin_url>
Install Optional Data
We can test the end to end functionality of the Magento storefront with the sample data made available from the Magento. To install the sample data, from the project root directory, we need to execute the following command
bin/magento sampledata:deployOn prompt provide the username and password with the access keys we used during the metapackage download from the repository.
We might face memory out of bounds issue if we select the PHP memory limit to be 2G and try to install the sample data. If we see the issue, do not panic and just update the memory limit to 3G in /etc/php/7.4/cli/php.ini and the problem will go away.
After update restart the apache2 service with sudo systemctl restart apache2
Now we need to upgrade the magento2 installation with the upgrade to install the sample data
bin/magento setup:upgradeAfter the upgrade, if we refresh the home page, it looks like

Attach Rabbitmq to the Magento
We need to connect Rabbitmq to the Magento installation. This enables communication between multiple modules within the Magento and its dependencies.
We need to edit the /var/www/magento2/app/etc/env.php file with the following data and run upgrade to make changes effective.
'queue' =>
  array (
    'amqp' =>
    array (
      'host' => 'localhost',
      'port' => '5672',
      'user' => ‘<rabbitmq_user>’,
      'password' => ‘<rabbitmq_password>’,
      'virtualhost' => '/'
     ),
  ),
Then we need to upgrade the system with bin/magento setup:upgrade to make the changes apply.
Setup the cron
The unix task scheduler is critical to Magento’s operations. We need to enable it using the
bin/magento cron:installOnce crontab gets generated, we can check the crontab status using the crontab -l command

Conclusion
Though this is a lengthy tutorial, if we follow each and every step closely, the Magento 2.4.2 installation will be free of surprises.
Let me know in the comments on how your try went so we can share the tips to the others !!!
Magento powers 0.7% of the internet. Almost 12% of the e-commerce websites today use Magento. The best part of it is that the software comes as an open source with OSL V. 3.0 license. A commercial flavor of it is also available called Magento Commerce with its own perks. In this tutorial we will be…
Your style is unique in comparison to other folks I’ve read stuff from.
Thanks for posting when you have the opportunity, Guess I’ll just bookmark this page.
Thank you
I’m more than happy to uncover this page. I need to to thank you for your time due to this fantastic read!!
I definitely liked every little bit of it and i also have you book marked to check out
new things on your site.